How to Do Brush Pen Lettering + Free Calligraphy Practice Sheets
- Book Sample /
- Hobbies
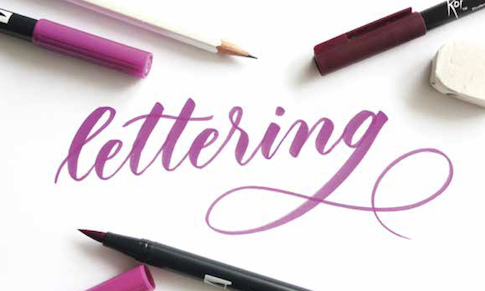
The beautiful art of brush pen lettering has been popular for awhile, but if you’ve never tried your hand at it (pun intended) or if you find yourself with some time to pick up an old hobby, we have some resources for you! Below is an excerpt of Grace Song’s bestselling book Brush Pen Lettering: A Step-by-Step Workbook for Lettering Decorative Scripts and Creating Inspired Styles.
Grace walks you through the basic brush strokes and provides practice drills to perfect your skills. At the end of the post, we’ve provided some hand lettering practice pages from her second book, Brush Pen Lettering Practice Book. Download them and print them off for hours of drills, practices, and exercises to master your lettering technique. As a bonus, there are totally blank pages that you can use to practice any kind of lettering, from brush pen to calligraphy to Spencerian hand writing.
Looking for more? Be sure to check out Grace’s website for tons of tips and inspiration. And browse through our library of other hand lettering books to learn about watercolor, flourishing, calligraphy and more!
Tools and Supplies for Brush Pen Lettering
The great thing about brush pen calligraphy is that you only need a few tools and supplies to get started.
Brush Pens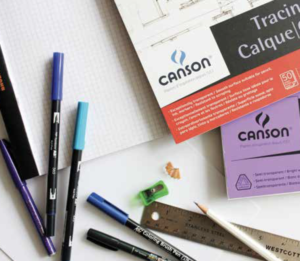
When it comes to brush pens, there are three different types of tips: natural hair, synthetic hair, and felt. In general, the felt tip brush pens are best for beginners because their marker-like tips are firmer.
Let’s take some time getting to know some large-tipped brush pens with felt tips. The size of the tip generally determines the scale of lettering that can be produced. Thus, large-tipped brush pens are suitable for large-scale lettering.
Tombow Dual Brush Pen: This pen is fitted with a brush tip on one end of a long body and a bullet tip on the other end.
Sakura Koi Coloring Brush Pen: This pen has a brush tip that, while flexible, is slightly stiffer than the tip of the Tombow Dual Brush Pen. The body of the pen is shorter in comparison and perhaps easier to hold.
Sakura Pigma Brush Pen: This pen has a brush tip that is firmer than its Koi Coloring cousin. It is only available in black and comes in three sizes: FB (fine), which is best for small-scale lettering; MB (medium); and BB (bold).
Paper
Having the right paper is crucial for lettering because brush pens are sensitive to the texture of a paper’s surface. So, the smoother it is, the happier your brush pens will be.
For practice, Rhodia is one of my favorite brands of paper, as it is for many other lettering artists and calligraphers. It is extremely smooth and thin enough that you could slide a guide sheet underneath and still see the lines.
Other Supplies
The pencil, pencil sharpener, eraser, and ruler are other essential tools that you probably already have in your home. They will help you to sketch, format, and lay out longer phrases in a purposeful way when you are ready to do so.
Basic Strokes and Building Your Foundation
The basic strokes on their own are a series of straight and curved strokes that vary in thickness. As unassuming as they are, be careful not to underestimate them because they are the key to building a strong foundation on which to build your skills.
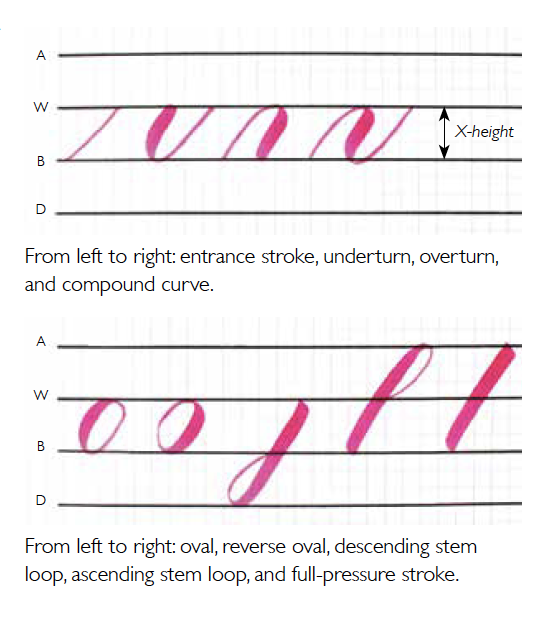
The entrance stroke
The entrance stroke is so deceiving; it’s harder to pull off than it looks! This stroke is used at the beginning of a letterform and is essential for connecting one letter to another.
Start at the baseline and with consistent, light pressure, move toward the waistline with a slight curve, stopping right at the waistline.
The underturn
Next is the underturn, which is found in lowercase letters, such as a, i, u, and w. To create the underturn, start off with full pressure at the waistline, then as you move toward the baseline, gradually release pressure. By the time you hit the baseline, you should be using light pressure to create a thin line. Start to release the pressure about two-thirds of the way down. Then you continue upward with the same light pressure until you hit the waistline. The latter half of this stroke is basically an entrance stroke.
The overturn
The overturn is found in lowercase letters such as m and n. It is the direct opposite of the underturn, starting off as a thin upstroke and transitioning into a thick downstroke.
Instead of starting with full pressure, you start with light pressure at the baseline, move upward, continuing with constant, light pressure until you hit the waistline, then curve downward, gradually increasing the pressure to finally hit the baseline at full pressure.
The compound curve
The compound curve is a combination of the overturn followed by an underturn. It is used in lowercase letters, such as h, m, n, v, x, and y.
Start at the baseline with light pressure, continue upward, keeping the pressure constant, hit the waistline, and curve around. Once you start moving downward, gradually add pressure until you reach full pressure at the midway point between the waistline and baseline. As you continue moving downward, gradually release the pressure until you reach the baseline again with a thin line. Curve back upward with constant, light pressure until you hit the waistline.
The oval
The oval is used for lowercase letters a, d, g, o, and q. To produce the oval, start at the 2 o’clock position. Begin with light pressure and turn counterclockwise. After you hit the waistline and curve downward toward the left, start increasing the pressure until you hit full pressure about midway. After the midway point, gradually decrease the pressure until you hit the baseline with a thin stroke. Continue by curving toward the right with constant, light pressure until you close the loop. The thickness of the thin stroke that starts and ends the loop should be the same.
The ascending stem loop
The ascending stem loop is used in lowercase letters b, d, f, h, k, and l. It forms any part of a letter that extends above the waistline.
The ascending stem loop starts at the waistline with light pressure. You curve up toward the ascender line. As you come around and move counterclockwise, start increasing pressure. The remaining two-thirds of this stroke is completed at full pressure all the way to the baseline.
The descending stem loop
The descending stem loop is found in the lowercase letters g, j, p, and y. It forms any part of a letter that extends below the baseline.
The descending stem loop starts at the waistline with full pressure. As you move downward, start releasing the pressure after you cross the baseline. Keep going until you hit the descender line with a thin line. Move clockwise with a thin stroke and continue upward with constant, light pressure until you reach the baseline.
The full-pressure stroke
The full-pressure stroke is basically a thick downstroke created by pressure that is applied heavily and evenly throughout. Start at the ascender line at full pressure, pull down, keeping the pressure constant, and lift at the baseline (or start at the waistline and end at the descender line).
Practice Drills
Drills are exercises that target a specific skill or concept. In the case of lettering, drills will help you build muscle memory and develop consistency for each of the basic strokes. Here are some suggestions for drills to help practice. Do each one for at least a full page.
- Fill at least one page for each of the basic strokes listed above.
- Fill a page by combining the entrance stroke and short full-pressure stroke
- Connect entrance strokes to short full-pressure strokes for a full page
- Fill a page with three connected underturn strokes
- Fill a page with three connected overturn strokes
- Make three connected compound curves and fill a page
- Fill a page by combining entrance stroke, oval, and underturn strokes
Click here to download blank Brush Pen Lettering & Calligraphy Practice Pages!
Photos by Grace Song for Brush Pen Lettering
Find the supplies on Amazon:
Ulysses Press has affiliate partnerships and links found on our website may be affiliate links. If you buy something by clicking through our links, we may earn an affiliate commission.
Brush Pen Lettering
The first book dedicated entirely to the use and mastery of modern brush pens Drawing gorgeous letters, words and phrases with a brush pen doesn’t have to be difficult! Brush Pen Lettering will show you how to create your own unique style. To help you on your lettering journey, this comprehensive how-to guide includes: • DIY
Learn more
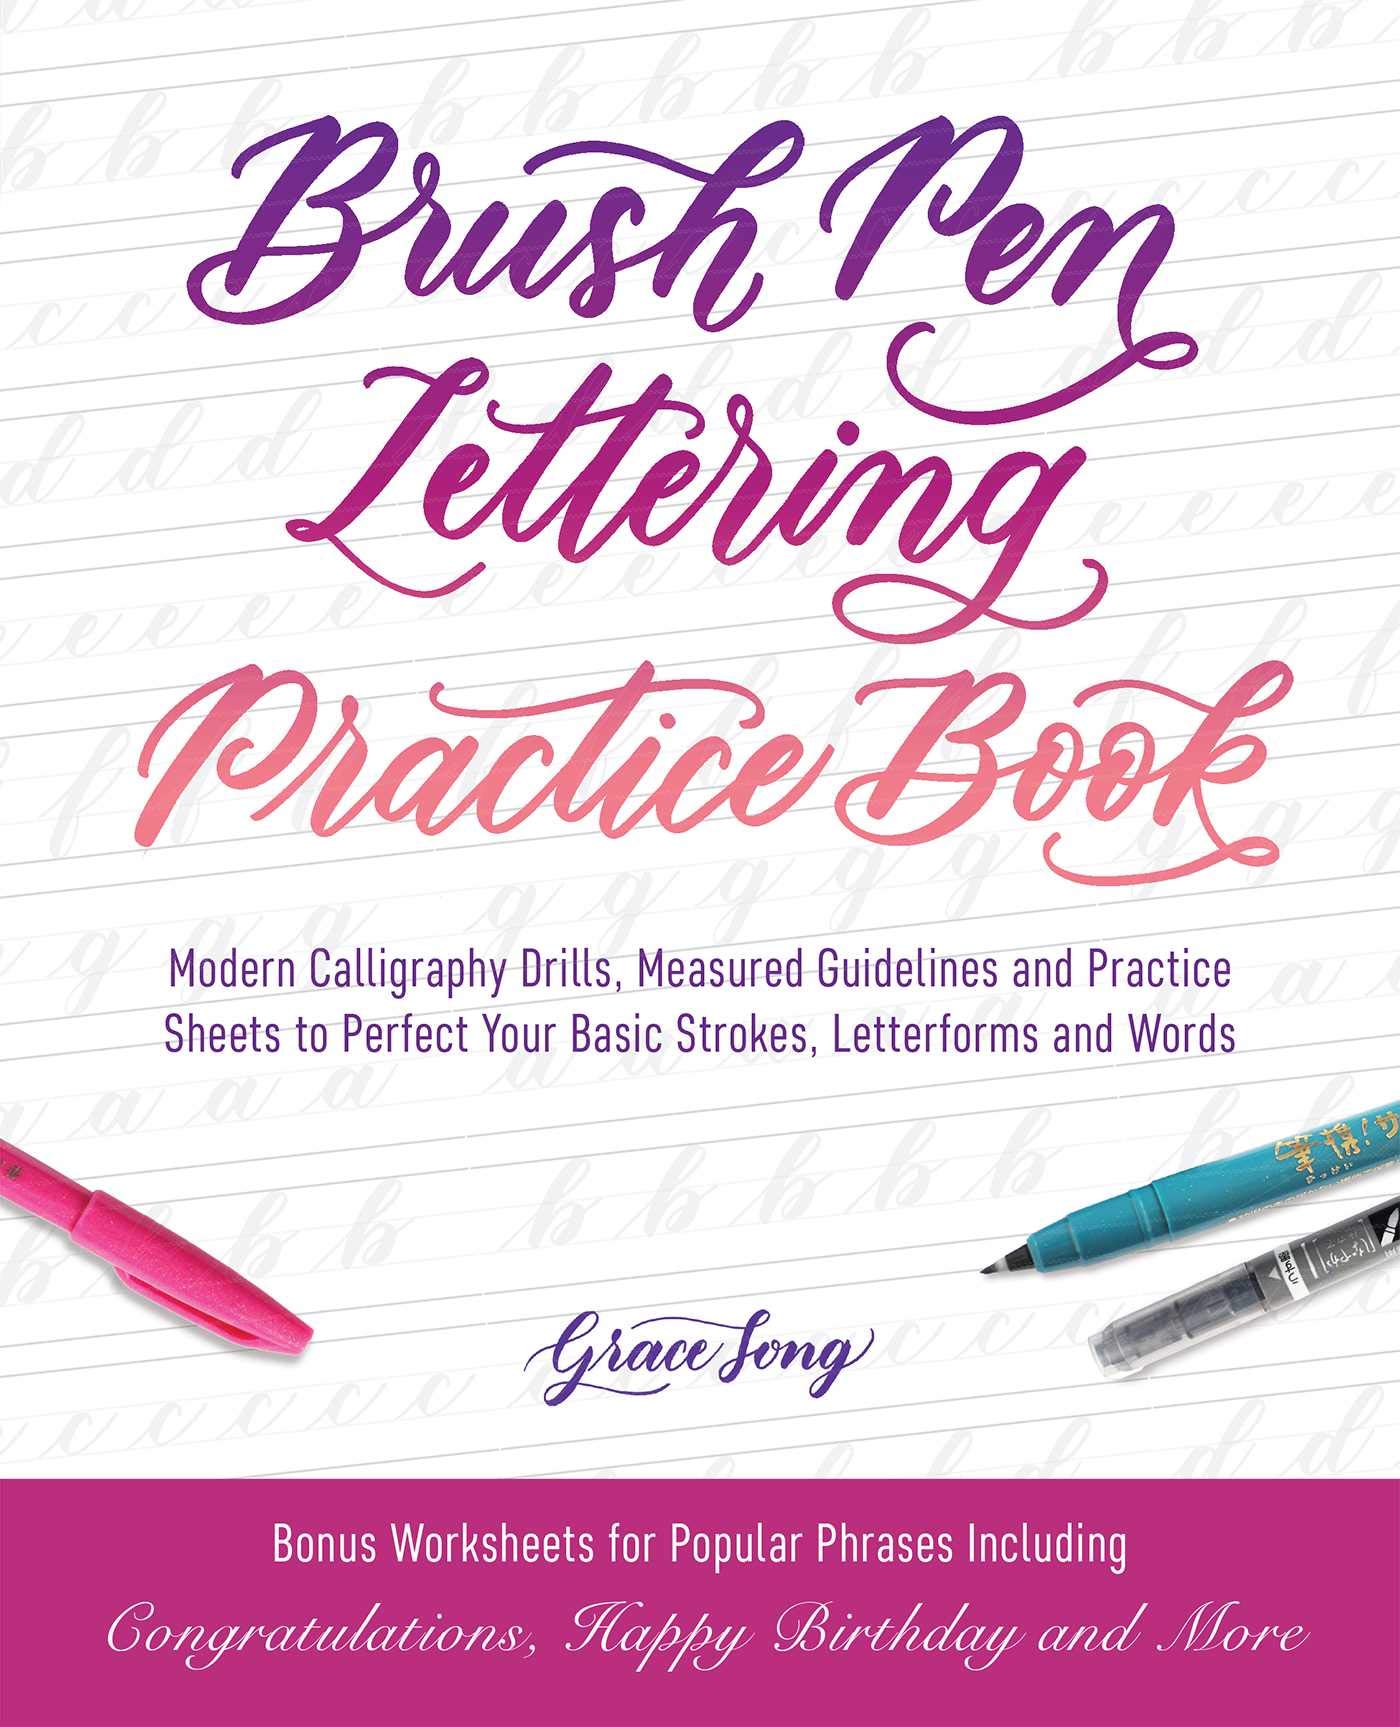
Brush Pen Lettering Practice Book
Practice til you’re perfect with expert drills, tips, and exercises! If you want to take your hand lettering to the next level, you need to practice, practice, practice. But merely writing the same letter over and over often leads to repeating the same mistake instead of improving your skill. Packed with expert drills, tips and
Learn more