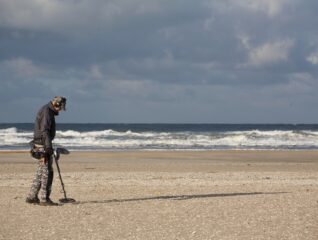
Metal Detectors 101: Parks and Beaches
- Book Sample /
- Hobbies
 Nothing is as thrilling as finding cool (and often valuable) stuff right under your feet with metal detectors. The Metal Detecting Bible, 2nd Edition serves up step-by-step instructions, illustrations, and useful photos that can turn you into a professional treasure hunter in no time.
If you need to refresh your metal detector knowledge, check out our Metal Detecting Tips and Tricks for Beginners blog post. Continue reading this excerpt for up-to-date information on digging up jewelry in popular places!
Hunting Beaches and Parks for Jewelry
Metal detecting for rings and other jewelry is tough. Unlike coins, which for the most part are uniform in size, shape, weight, and metal content, jewelry doesn’t have consistency. That’s why we’re able to recognize coins by the tone and TID numbers when we’re detecting. Rings, bracelets, necklaces, earrings, and other jewelry, on the other hand, are made up of all shapes, sizes, weights, and karats. These inconsistencies are what make jewelry hunting so difficult. If you want to get out and score some nice gold rings and jewelry, be prepared to dig a ton of trash. It’s a numbers game, though. Eventually, you’ll hit a nice ring. Follow these steps to help increase your odds and decrease your unwanted targets. We’ll keep it brief. The main takeaway is, if you want jewelry, DIG IT ALL.

Photo by Ignacio Brosa on Unsplash
Parks
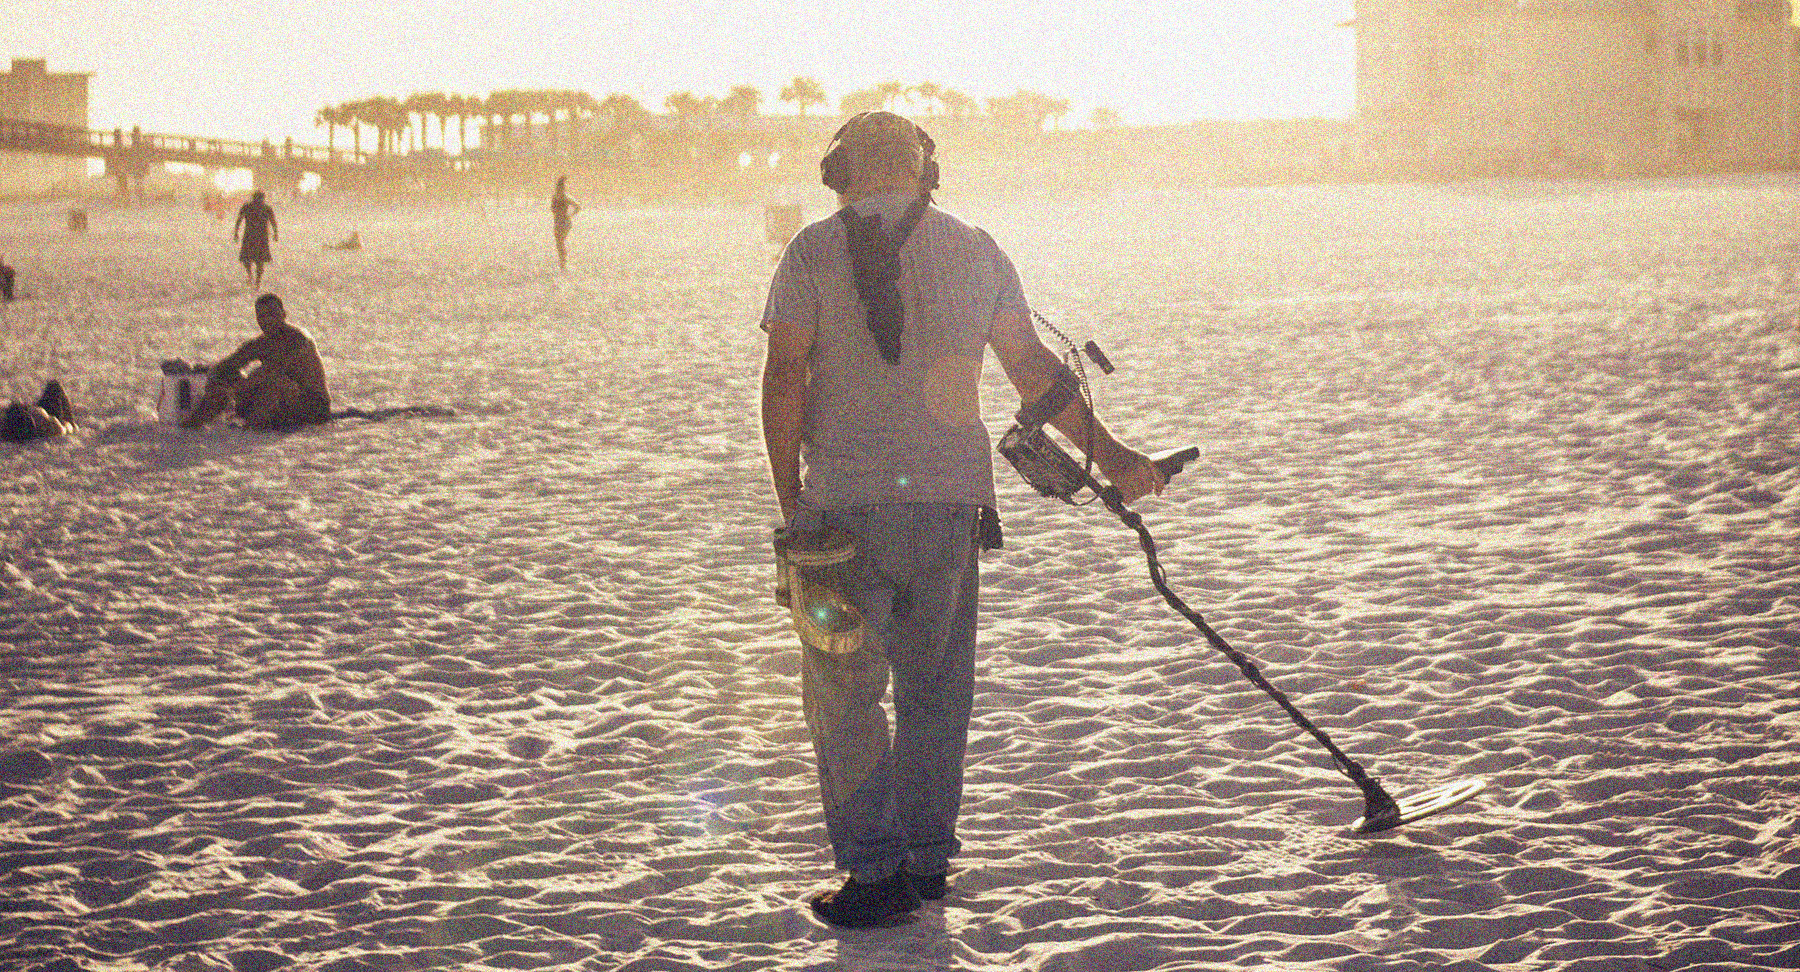
Parks are an excellent place to find rings and other jewelry with metal detectors. Unfortunately, they’re also a great place to find pull tabs, foil, and can slaw left behind by groundskeeper Willie. If it’s gold rings that you’re after (which it should be), you’re going to need to make a few minor adjustments to your metal detector to help put the odds in your favor. Since ring/jewelry hunting is a numbers game, the first thing I recommend is to reduce the sensitivity of your metal detector. Yes, gold is heavy as hell. Yes, gold sinks pretty dang fast. But, if we’re playing the numbers game, we don’t have time to excavate every target at depth. The more targets we retrieve, the better our odds become. Focus instead on targets that are within 1 to 2 inches of the surface. You know, targets that your handheld pinpointer can reach without digging. Focusing on targets that you don’t have to chase after will keep you from wasting time on deep garbage. Otherwise, you’ll waste five minutes retrieving a pull tab when you could have retrieved three to four surface-to- slightly-subsurface targets instead.
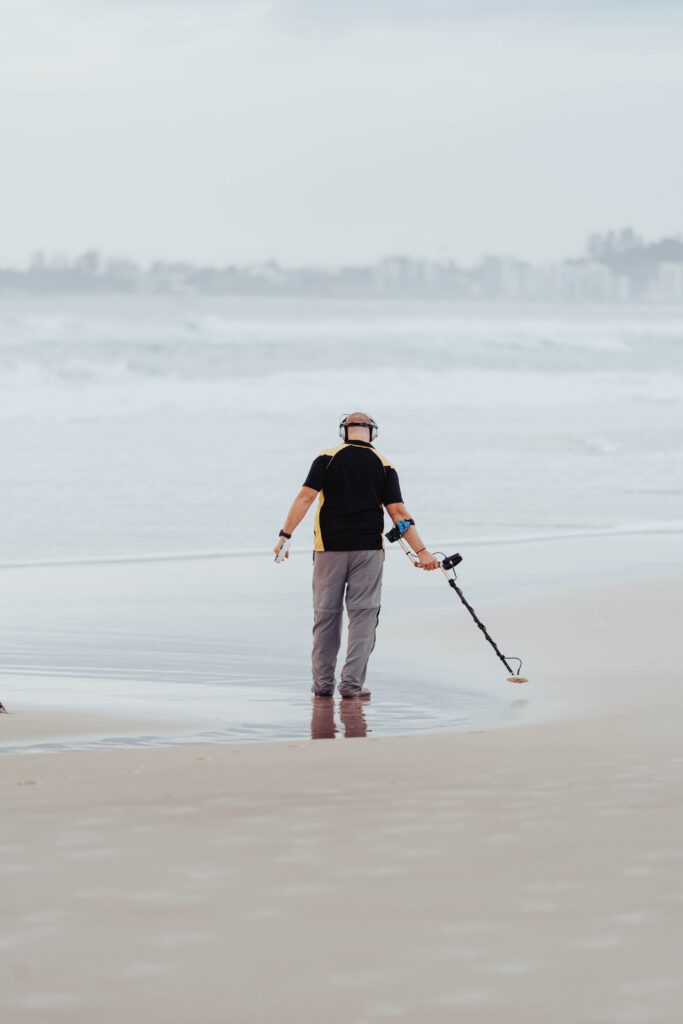
Photo by Carnaby Gilany on Unsplash
Beaches
Saltwater
Saltwater beaches are often more problematic than freshwater beaches. When we introduce salt, an alkali, into an otherwise normal environment and add water, we experience a huge loss in sensitivity. The extra mineralization acts as a masking agent and hampers your metal detector’s ability to punch through the ground. Some higher tech, more advanced machines have built-in algorithms that are specifically designed to handle saltwater environments. If you have cutting-edge technology at your disposal for saltwater detection, or a pulse induction machine, impervious to mineralization, use it! Otherwise, if you’re experiencing erratic, sputtering, R2-D2 on crack sounds from your machine, you’ll need to make a few adjustments.
If you’re using a VLF or FBS machine, and you’re struggling to keep your machine from falsing over wet, salty beaches, try reducing your machine’s sensitivity. This will give you the biggest improvement outside of staying off the wet sand. Obviously, this isn’t ideal. You’re going to lose depth. Period. End of story. Depth on a beach can be crucial! Things on sandy beaches sink at incredible rates. Unless you’re hunting daily at ridiculously populated beaches, you’re going to need to make some adjustments to your hunting programs and/or habits. Stability is the key. Again, this theory kind of goes back to the “driving with the high beams on in the fog” analogy. If you’re experiencing a bunch of chatter, back off the sensitivity a bit until it’s tolerable and remember to constantly check your ground balance.
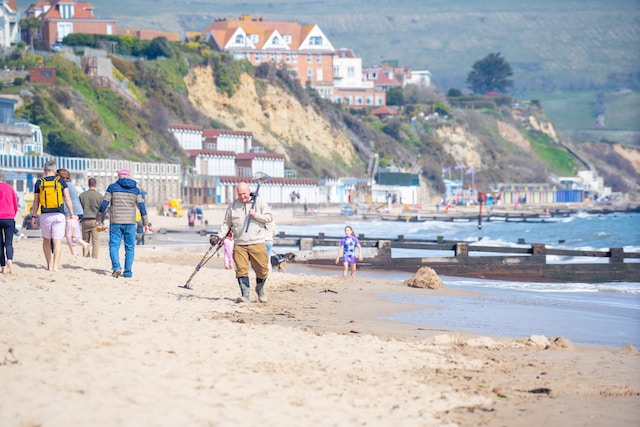
Photo by Benjamin Elliott on Unsplash
Where to Focus: The Cut
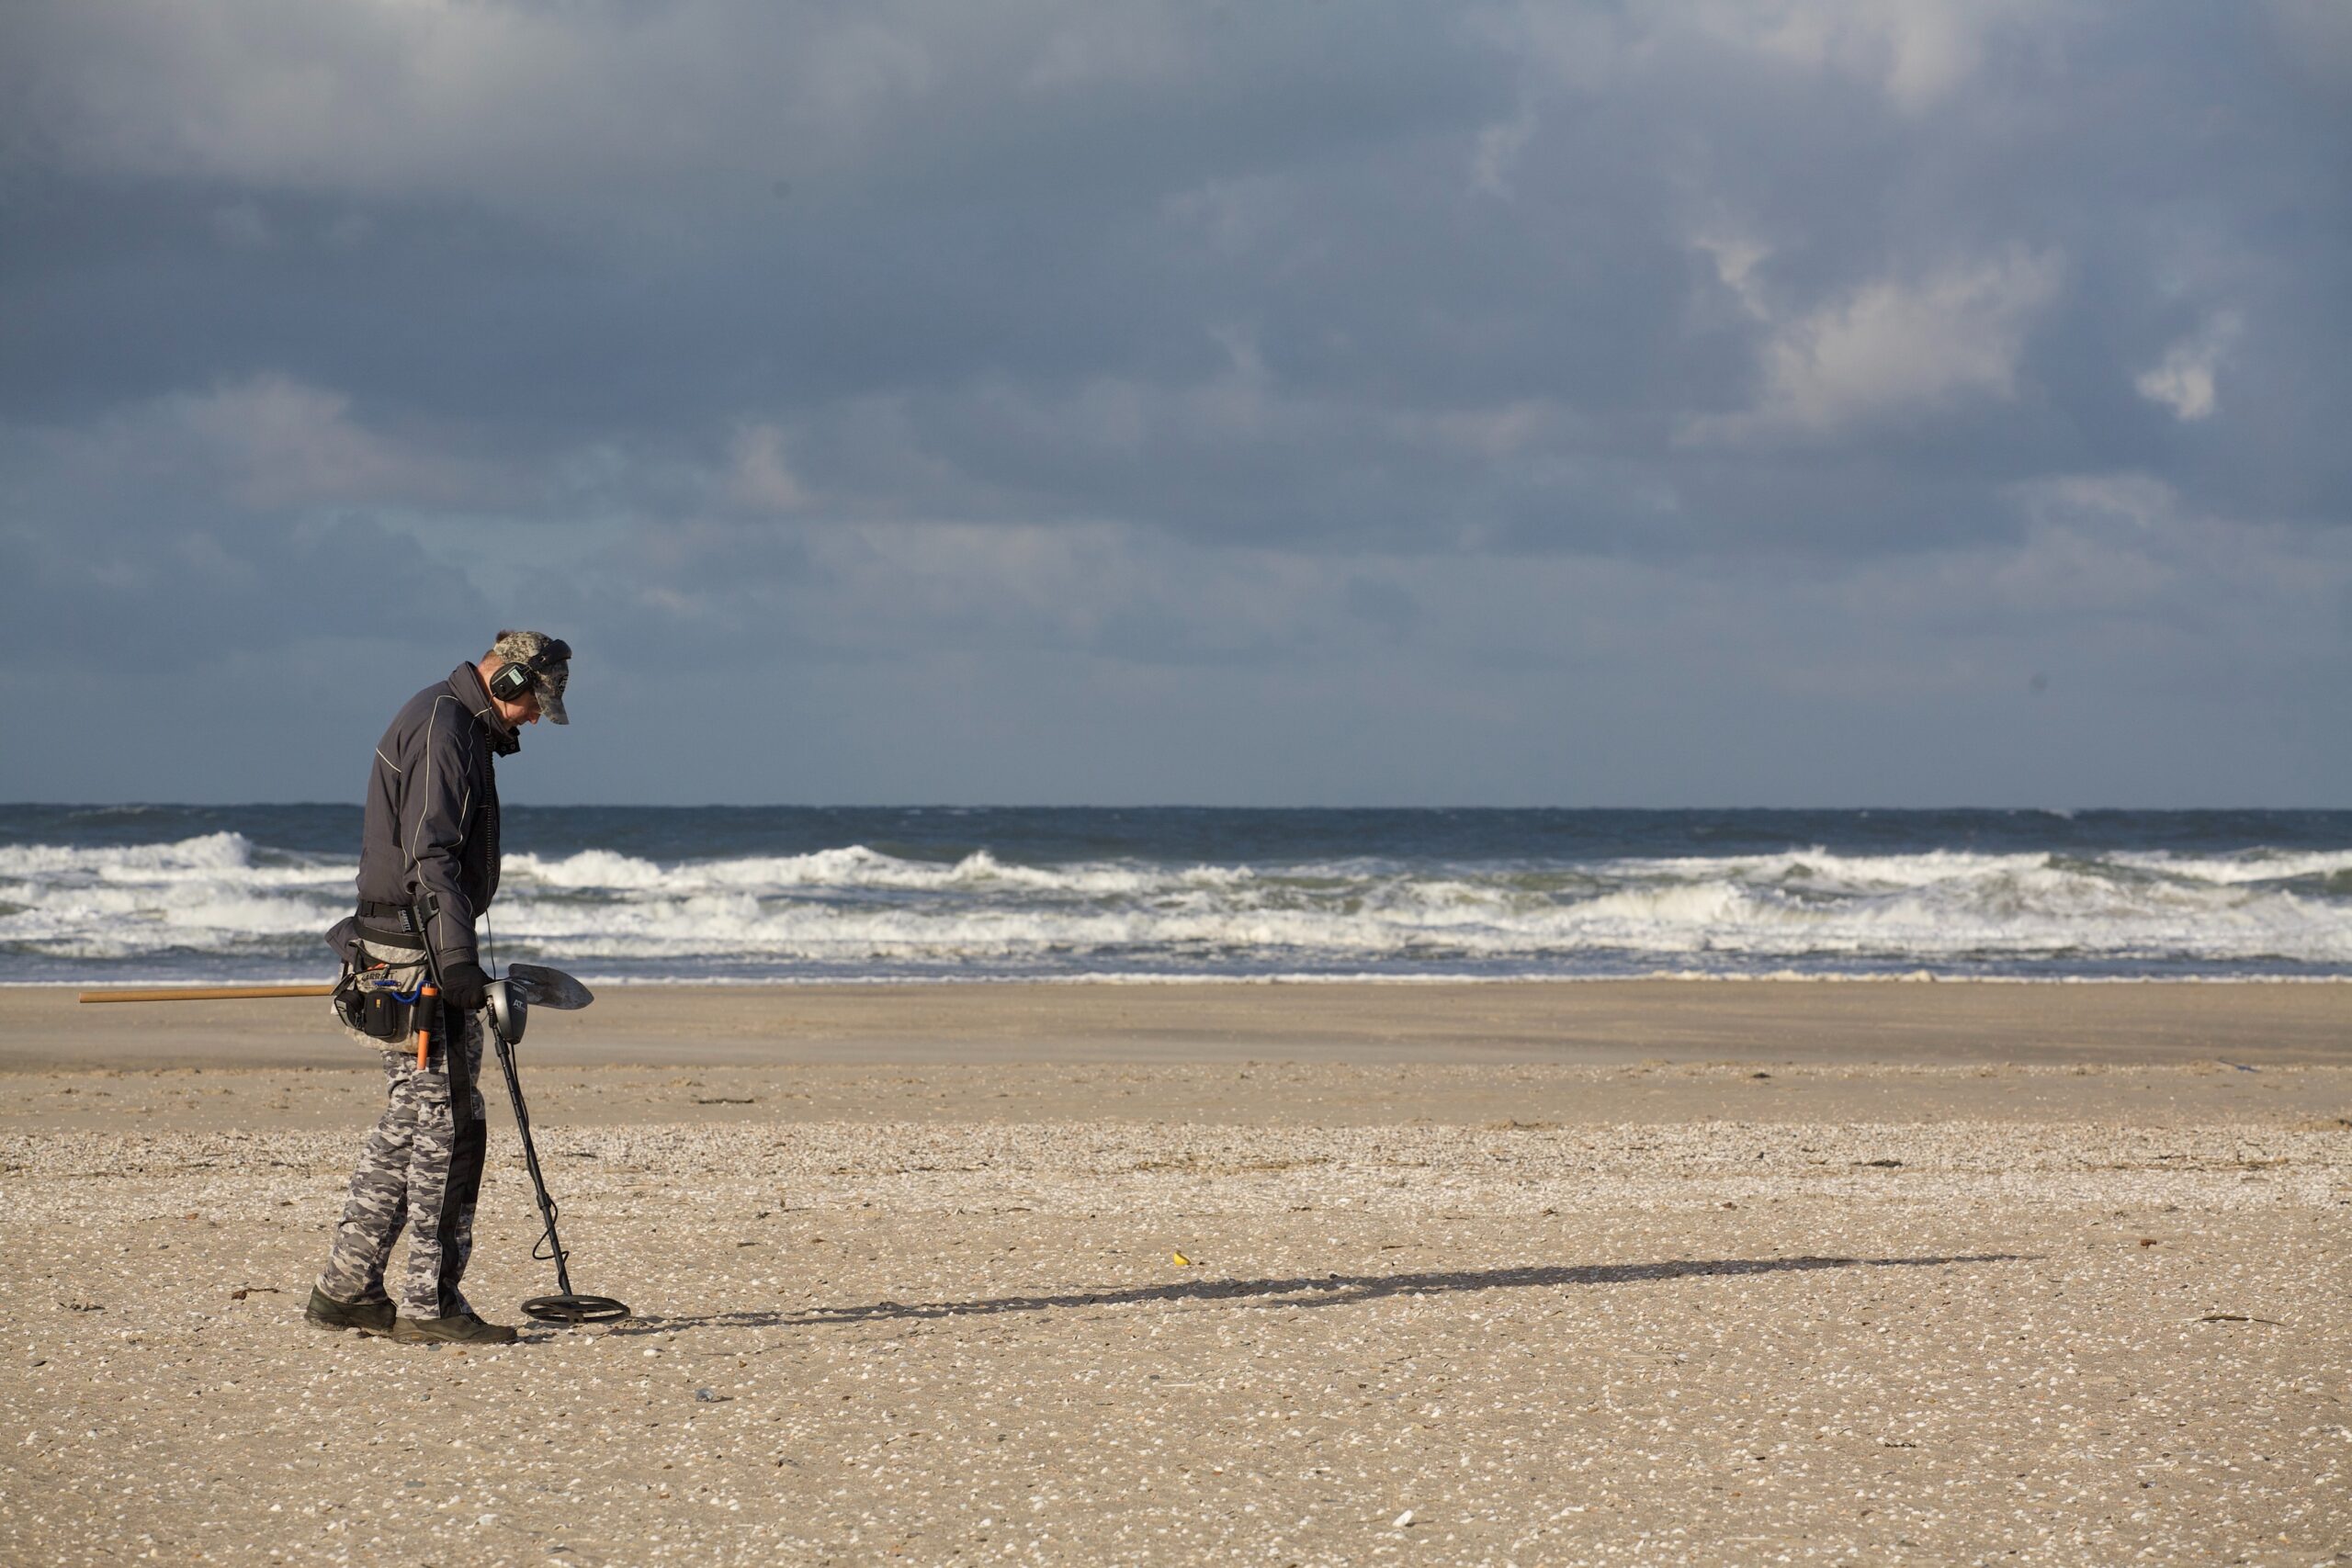
When working ocean beaches, you’ll want to focus on the cut. The cut is basically a sand shelf made by the high water mark. The cut can change with each new high tide, or it can remain the same until acted upon by large swells from offshore storms. Working the cut will give you access to goods that have been redeposited by the motion of the ocean. New cuts also expose older items at depths that have been out of detecting reach. Some of the best times to go beach detecting are after big storms like hurricanes. The excessive water movement stirs up the ocean floors and exposes/redeposits new material.
Freshwater
Freshwater beaches can present their own set of problems. Sometimes, heavy mineral deposits can make metal detectors go crazy! Black sands, alkaloids, and other anomalies can make things tough. Freshwater beaches generally don’t get turned over as much as saltwater beaches. This means that at populated beaches, maintaining proper ground balance and sensitivity to obtain extra depth will be especially important. Crank up your sensitivity as high as it will go without driving you nuts, and dig everything repeatable.
To increase your odds even further, look for popular places that take a little physical fitness to procure. Metal detectorists, like everyday people, are lazy. Make an effort to get into spots where no other detector has been and the rewards can be spectacular.
Don’t Be Afraid to Get Wet: Invest in Waterproof Metal Detectors
If you plan on doing mostly beach detecting for jewelry, cough up a few extra bucks to get a fully submersible metal detector. Less than half of the detectors on the market today are fully waterproofed and rated for submersion. This means that if you’ve got a fully submersible detector, you’re going to have access to places that over half of your competitors can’t go. Don’t be stuck on the beach with 60 percent of the detectorists looking for 20 percent of the treasures.
To dig even deeper, buy The Metal Detecting Bible, 2nd Edition available September 5th.
This article was adapted from the book The Metal Detecting Bible, 2nd Edition by Brandon Neice.
Ulysses Press has affiliate partnerships and links found on our website may be affiliate links. If you buy something by clicking through our links, we may earn an affiliate commission.
The Metal Detecting Bible
The ultimate A-to-Z guide revealing everything you need to know to become a metal detecting expert Who wouldn’t get a thrill from discovering buried treasure? Now with this in-depth guide, you can learn the secrets to finding valuable items like coins, jewelry and historical relics with a metal detector. With tips on choosing the ideal
Learn more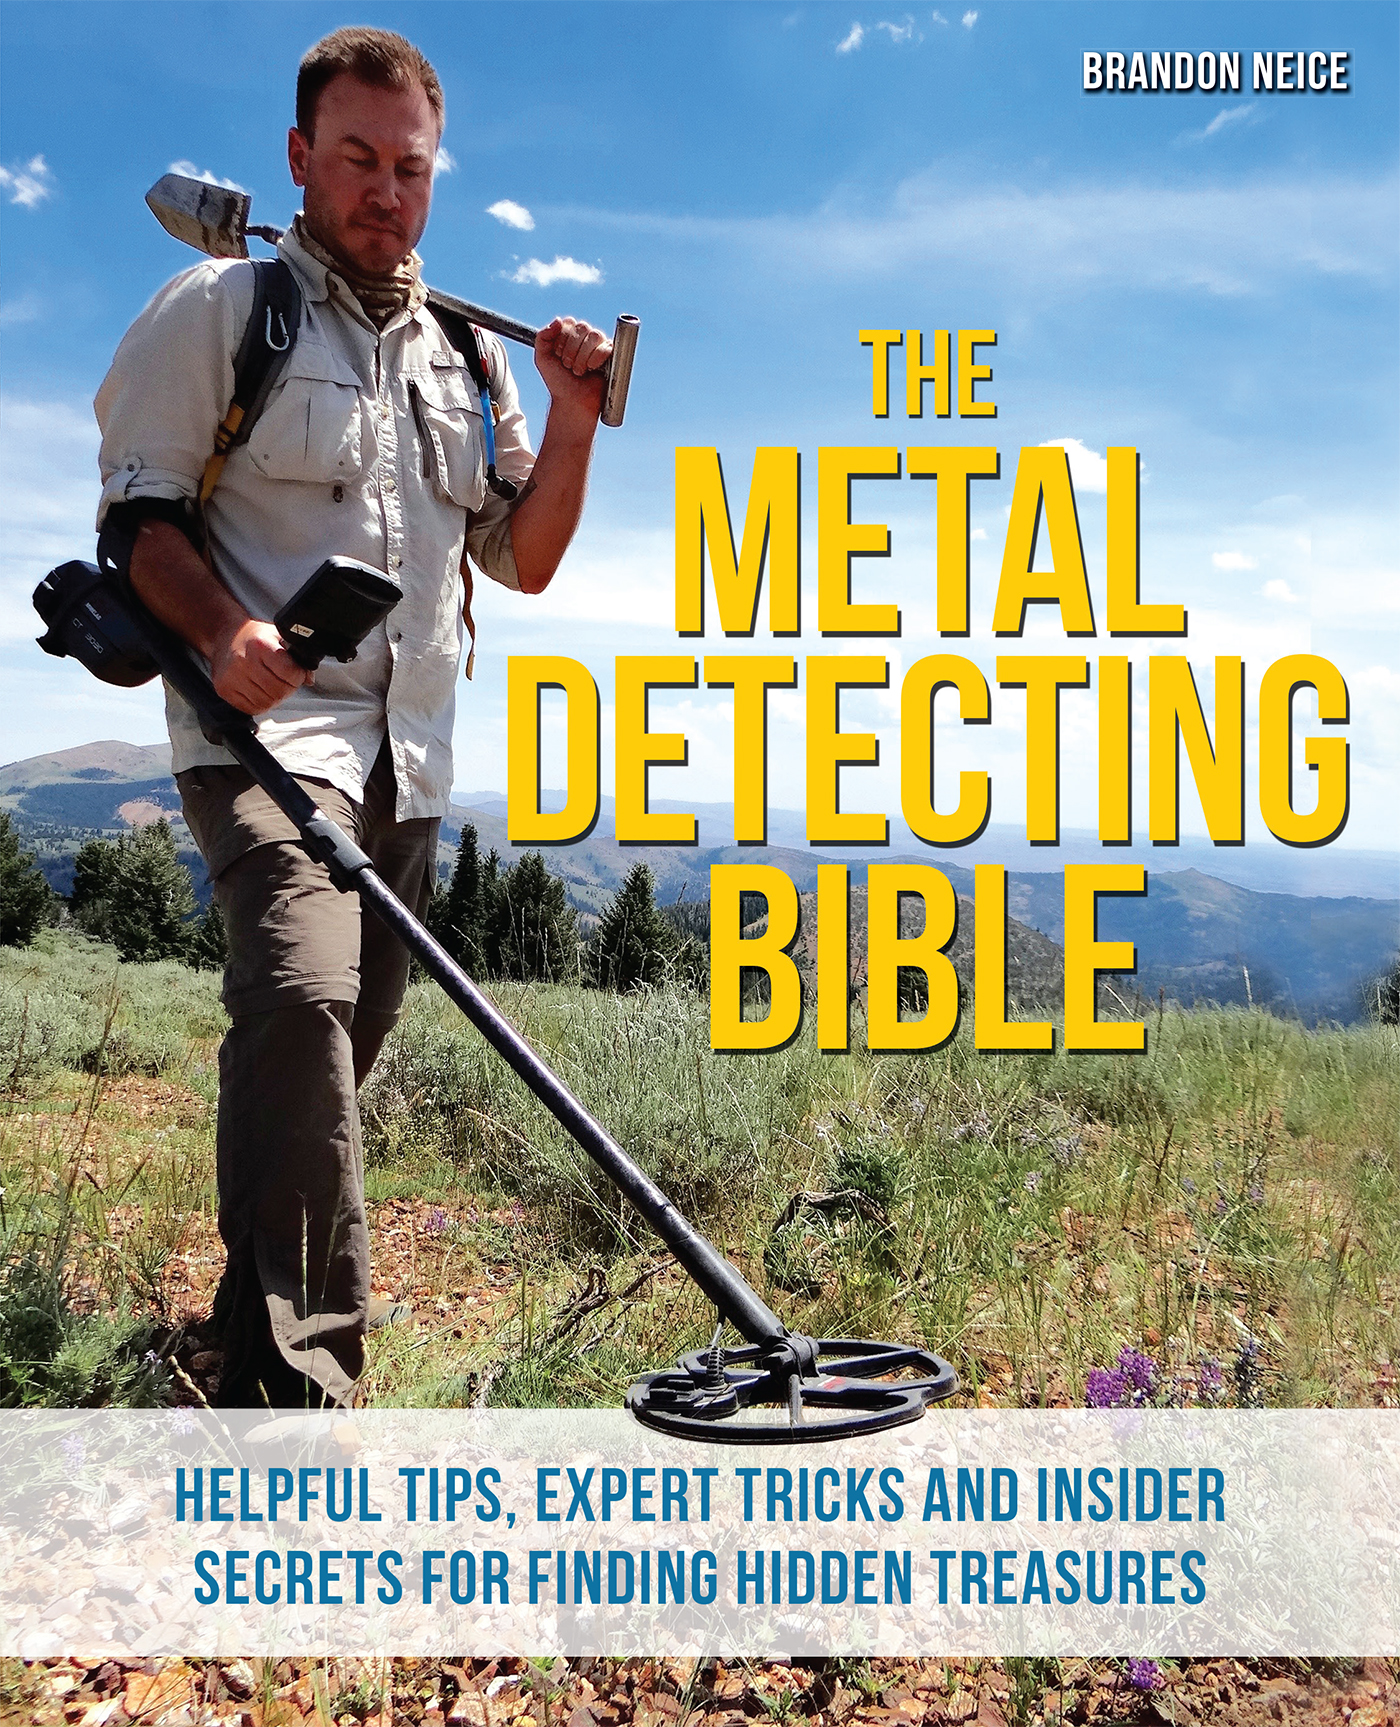
Featured Author
Brandon Neice
Brandon Neice was raised in the historically rich, gold-bearing area of California’s Placer County. At a young age, he became interested in gold prospecting and treasure hunting. Brandon’s father, an experienced recreational prospector and avid outdoorsman, facilitated his interest by taking him on outdoor adventures throughout the northwestern US. Later in life, Brandon moved to Idaho, where he met a friend who was using metal detectors to find gold nuggets.
