


Hand Lettering for Self-Care + Free Practice Pages
- Book Sample /
- Hobbies & Crafts
Hand lettering has been popular for a very long time and will continue to remain so. Many people find themselves involved with this craft when they’re interested in trying out a new hobby. But, the art of hand lettering can also be therapeutic and used as part of your self-care routine. So, if you find yourself looking for a new hobby or are interested in learning new self-care techniques, we’ve got just the perfect resources for you. Below is an excerpt of Lauren Fitmaurice’s book Hand Lettering for Self-Care.
In her book, Lauren lays out key rules of hand lettering for self-care and drills and basic strokes. Download the drill pages and get started on your lettering journey. As a bonus, we’re also including blank pages that you can use to practice more of your lettering.
Interested in more? Be sure to check out Lauren’s website for inspiration. And check out our library of other hand lettering books to learn about watercolor, brush pen, calligraphy, and more!
The Rules of Hand Lettering for Self-Care
To enjoy the benefits of hand lettering for self-care, you have to be able to follow the rules. Don’t worry, they aren’t too strict but are really important in creating a healthy and safe space for you to be mindful, creative, and reflective.
1. Just Start
Simply pick up your pen and get going. If you are waiting to be perfect or to find a better way to learn, all you are doing is spending time worrying when you could be creating. Especially in the beginning, you won’t always love what you create, but the most important part is to start creating. The more you practice, the more inspiration will come your way.
2. No Comparison Allowed
We all do it, including me. It’s so easy to hop on Instagram, see what other people are creating, and instantly go to that place of not feeling good enough. You are worthy to hold that brush pen, friend. Just think of it like this: Everyone is in a different place on their lettering journey. Some are in the beginning, and others have been on the road longer, but at one time or another, every single lettering artist was a beginner. Believe me when I say, the posts I shared at the beginning of my lettering journey were not what I would call great work. However, it is so cool to see how much I have grown in my lettering. So instead of comparing yourself to others, focus more on your progress and lettering that makes you happy.
3. Keep It Positive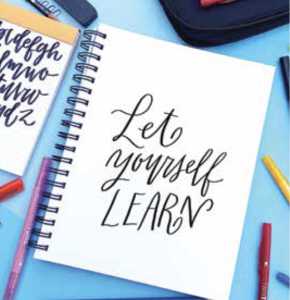
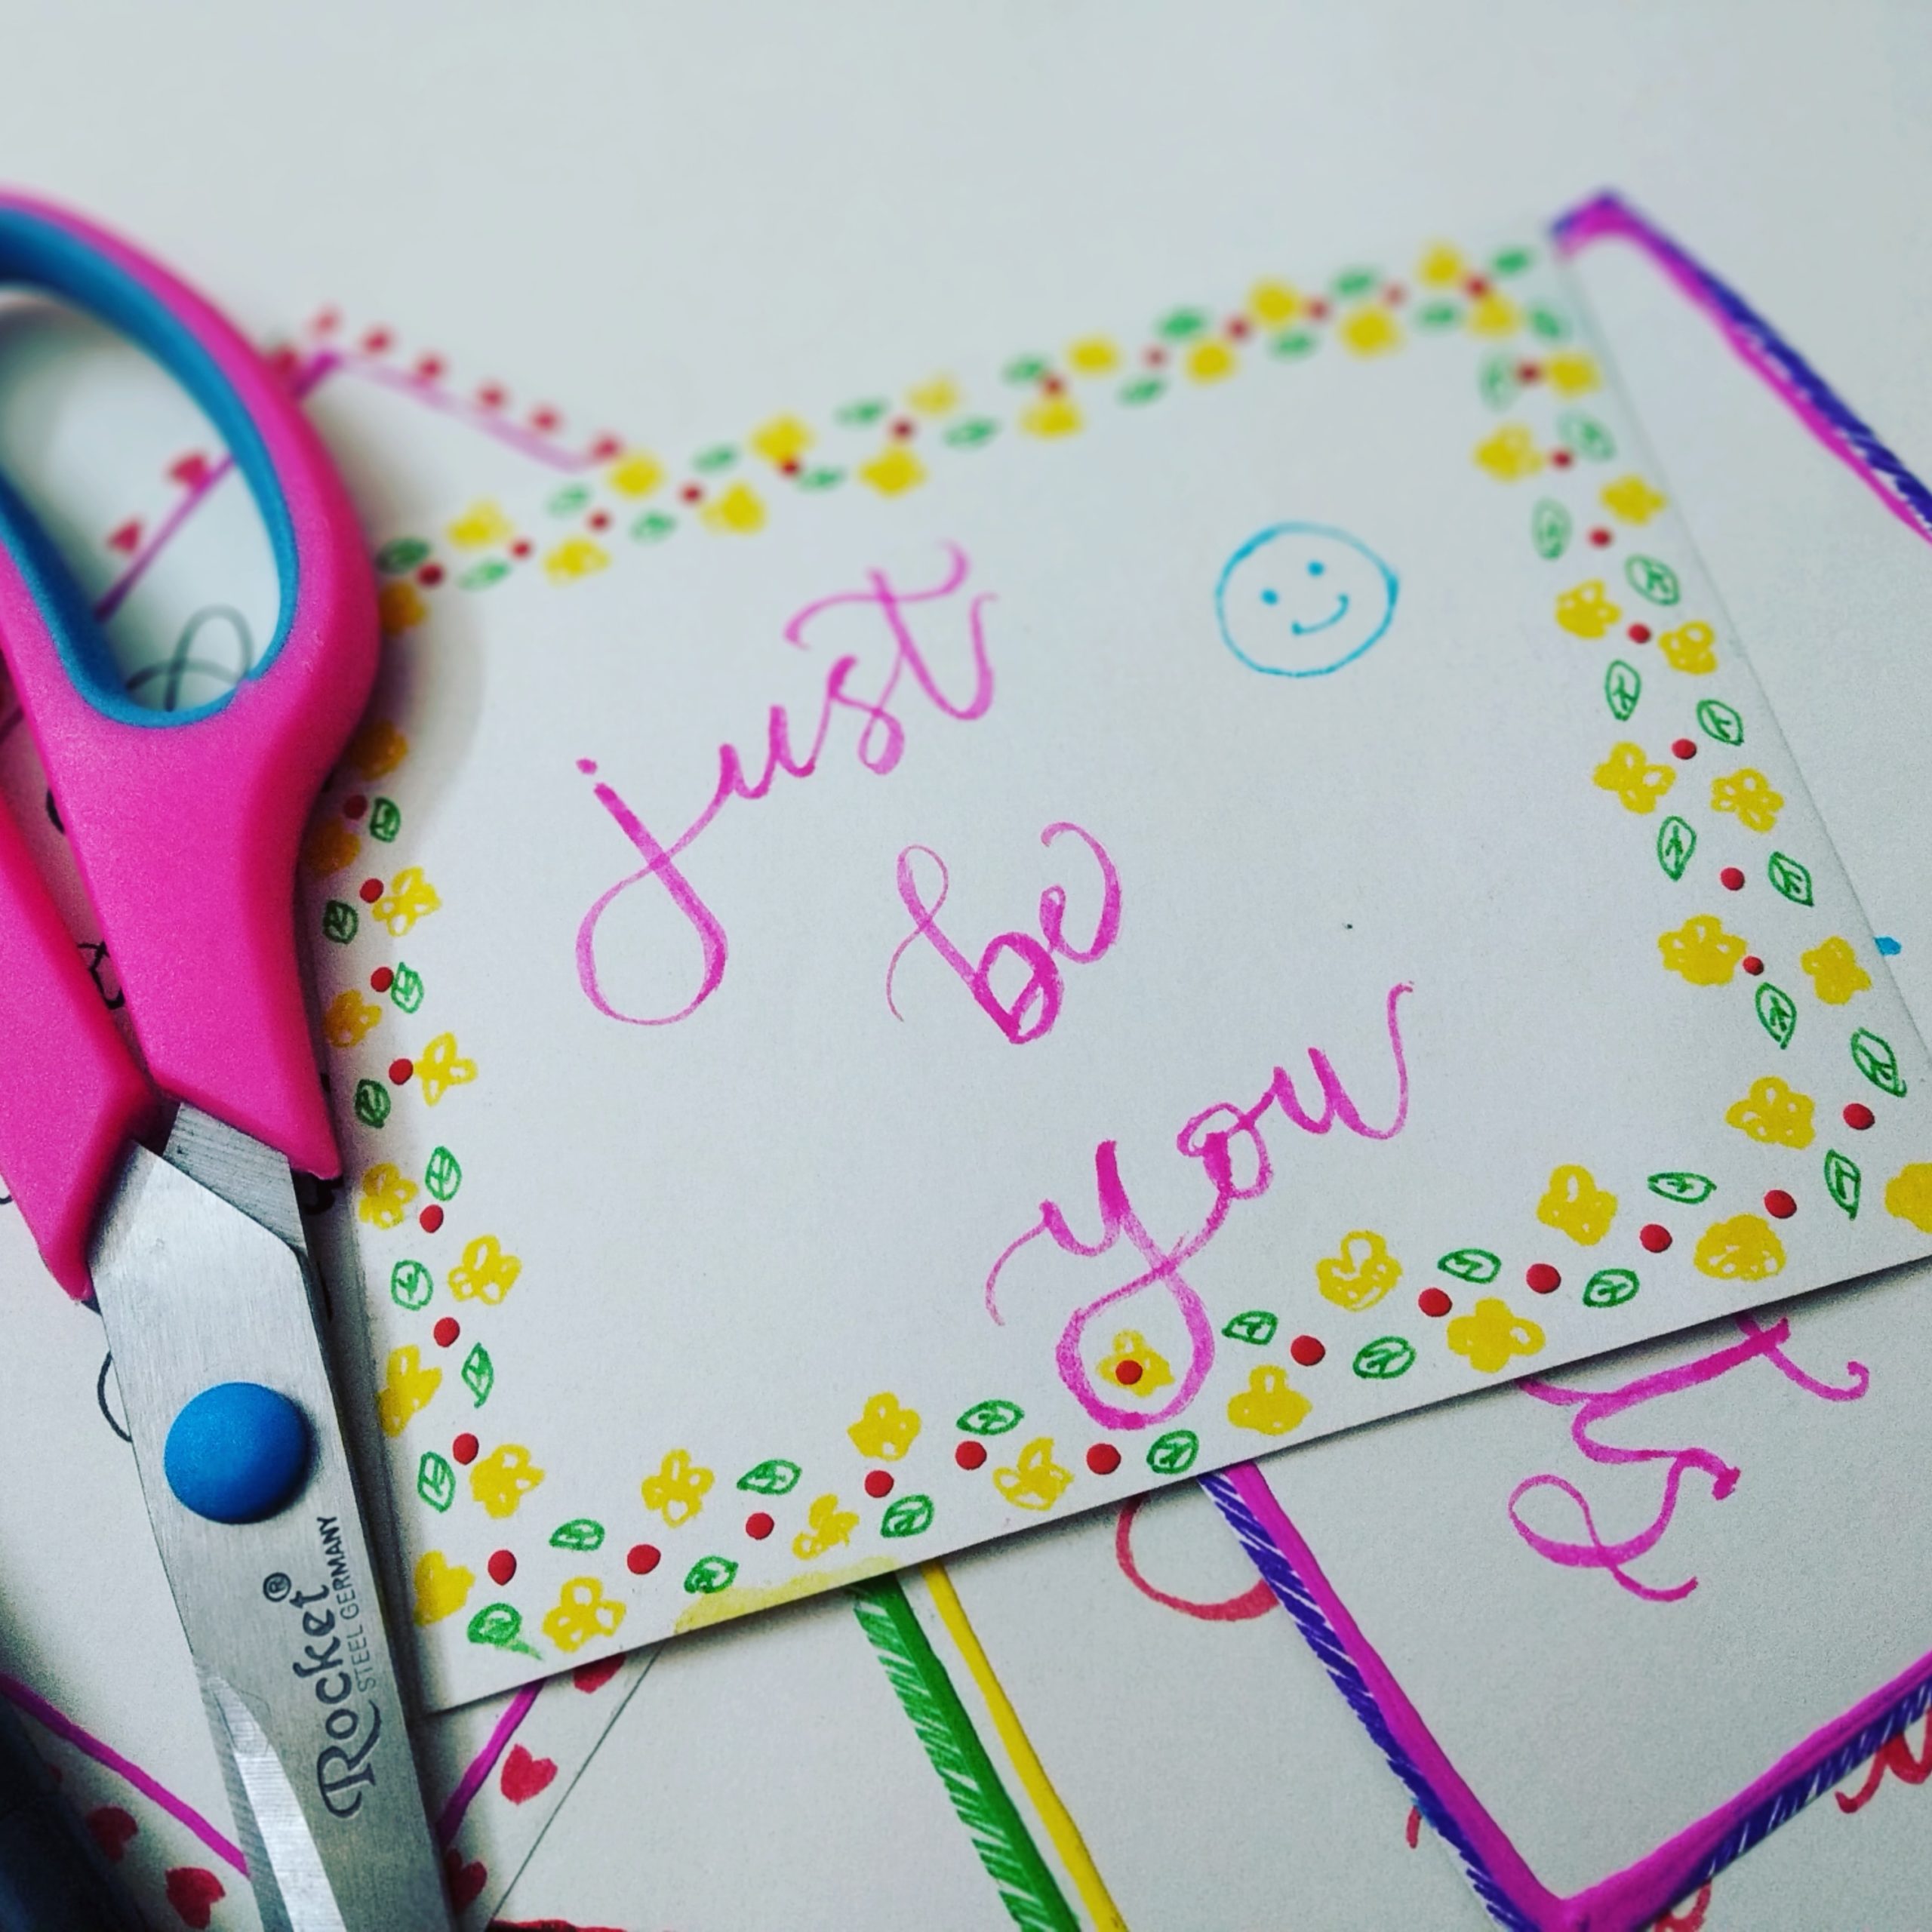
Words are powerful tools. They can tear us down or build us up. One of my most favorite lettering projects is writing out quotes that I relate to and am inspired by. When you are lettering and creating, keep your pen, heart, and words happy, light, and positive. The work that you put out into the world has the ability not only to bring smiles to others, but also to lift your own spirits too. Write what your heart needs you to, and stay away from topics and ideas that bring you down.
4. Make a Little Time Every Day
Learning any new skill takes time, but sometimes there aren’t enough hours in a day to fit in everything we want and need to accomplish. The amazing thing about hand lettering is that you can practice for just 10 minutes at a time and still improve and grow. So carve out a few minutes to create each day. Whether it is at 5 a.m. while you are waiting for your coffee to brew, during your lunch break, or late at night after your kids are asleep, the time you save to let yourself letter will never be time wasted.
5. Letter for You
Always remember, no matter how good you get at lettering or how fancy you write, you started this hobby for yourself. Letter what makes you happy and only choose to create projects that bring you joy. Don’t let your projects for others fill up too much time. Make sure to always keep time for yourself to just create—no strings attached.
If you follow these simple rules and let yourself letter, hand lettering can be a great way to show self-care.
The Hand Lettering for Self-Care Tool Kit
You don’t need a million art supplies to get started lettering, but there are some common art tools in the lettering and calligraphy world that you can familiarize yourself with as you learn this new skill or expand the knowledge that you already have.
Start by adding the following tools to your toolbox.
Pencils
The perfect tool to get you started, pencils are extremely versatile to use for lettering. You can sketch with them and even practice how to create pressure to form upstrokes and downstrokes in calligraphy. The best part of pencils is also kind of obvious: They are erasable, so there is no risk or stress when lettering with a pencil.
Fine-Tip Pens
Fine-liner pens are perfect for thin-lined lettering and adding details and embellishments. These pens come in a variety of thicknesses to create different types of fine lines.
Broad Tip Markers
Markers with a conventional tip are probably the most common lettering tool out there. Snag some at pretty much any store or probably in a drawer in your house and use them in lettering in a variety of different ways.
Brush Pens
One of the most common and convenient calligraphy tools is the brush pen. The flexible brush tip creates thick and thin lines depending on the application of pressure. It can be tempting to pick up a brush pen first before using any other tool, but it’s so important to understand the correct way to use them not only to lengthen the life of your brush pens, but also to create calligraphy with true, thick downstrokes and thin upstrokes. Brush pens must be held at a 45-degree angle and should be used on smooth paper to maintain the shape of the pen tips. Brush pens are definitely difficult to use at first but with a little practice and trial and error they become much easier to control.
Small Brush Pens: There are many different kinds of small brush pens, but my favorite are the Tombow Fudenosuke Hard and Soft Tip Brush Pens. I recommend the hard-tip brush pen for beginners as the firm tip is easier to control. Holding it at the appropriate angle with varied pressure, you can create thick and thin lines for smaller letters perfect for small quotes, sketch notes, and even envelope calligraphy.
Large Brush Pens: The Tombow Dual Brush Pen is a very versatile brush pen that has a flexible tip and waterbased ink, which means that in addition to making larger calligraphy, it can be used as watercolor and blended in lots of really fun ways.
Water Brush
The water brush is a super-fun lettering tool that mixes the art of brush lettering with watercolor. This lettering tool can come in a variety of brush sizes. You unscrew the body of the pen and place water inside, then put it back together. The water brush works the exact same way as a large brush pen; however, the bigger or longer the brush, the harder it will be to control.
Paper, Paper, Paper
It may sound obvious that you need paper for lettering, but it really is an important component of learning and practicing the art form. However, when it comes to lettering for self-care, the important thing is that you have paper. It doesn’t really matter what kind of paper that you have if you are just getting started with a regular pen or marker, but there are specific types of paper that work best for certain types and purposes of lettering.
Sketchbooks and Journals
It’s important to love what you are spending time to letter in. Sketchbooks, notebooks, journals, and notepads come in all kinds of fun and cute shapes, colors, and sizes. When you see one that makes you happy, go on and pick it up. You will for sure find a way to incorporate it into your lettering practice.
Sketchbooks are a great way to keep your lettering practice and ideas in one place throughout your journey. They can serve as a type of anthology or journal of all the words, thoughts, and experiences that you go through while learning to letter. Loose paper is great too, but there is nothing like flipping through sketchbooks to see how you’ve grown in your skills while remembering what life tossed your way at different times.
Grid Paper
Grid paper is awesome for practicing your lettering, especially when you are learning a new lettering style or planning out a design for a quote. The paper has tiny little squares that make it super-easy to make your letters a consistent style or size.
Dot Grid Journal
Slightly different from grid paper, a dot grid journal has tiny little gray dots that create a grid without the lines, so it has a little less structure drawn on the page. Use it the same way you would grid paper. The dots are so light that your lettering will really pop on the page, but you can still benefit from guides to help create straight lettering and consistent designs.
Tracing Paper
The hidden secret to learning lettering, especially at the beginning, is tracing paper. The thin paper is perfect to fit over any worksheets or traceables (and over the pages of this book!). Fill pages and pages with letters and don’t worry about wasting your precious sketchbook pages on practice.
Inkjet Paper
HP Premium Inkjet Paper is one of my favorite papers for brush pen lettering practice. The smooth surface makes it one of the only types of printer paper ideal for brush pens as it will protect the tips and prevent fraying. It is also an inexpensive option for creating new pieces and continuing to practice.
Mixed Media Paper
Many of my sketchbooks are filled with mixed media paper. This paper is great for so many different kinds of lettering tools. The thick pages also make it easy to incorporate watercolor or other artistic elements with your lettering.
Learn Drills & Basic Strokes
It can be tempting to pick up a pen with the intention to letter words and phrases beautifully from the get-go, but that isn’t the way it works. In order to be able to write consistent letters, it is so important to first practice lettering drills, which are the basic strokes that make up letterforms. Lettering drills are always a great place to start. Revisit them as you come across specific letters or styles that you need to improve.
Your approach to lettering drills will definitely depend on the lettering tools and style you choose to learn. For an ordinary tool like a pencil, pen, or marker, focus on creating the shape of the basic strokes in a consistent way. For a brush pen or similar tool, make sure you apply enough pressure to be able to see the difference in your upstrokes and downstrokes.
Once you feel confident in your ability to create consistent basic strokes, you will be ready to move on to the next step!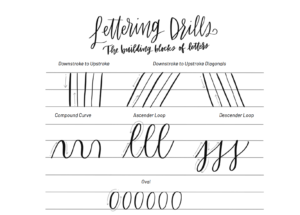
Drills and Basic Strokes
Now it’s time to practice! Grab your lettering tool of choice and some tracing paper, and get ready for some fun! Use the traceables and fill pages with your basic strokes. Make sure to trace the drills that go with the appropriate tool.
Downstroke to Upstroke Drill
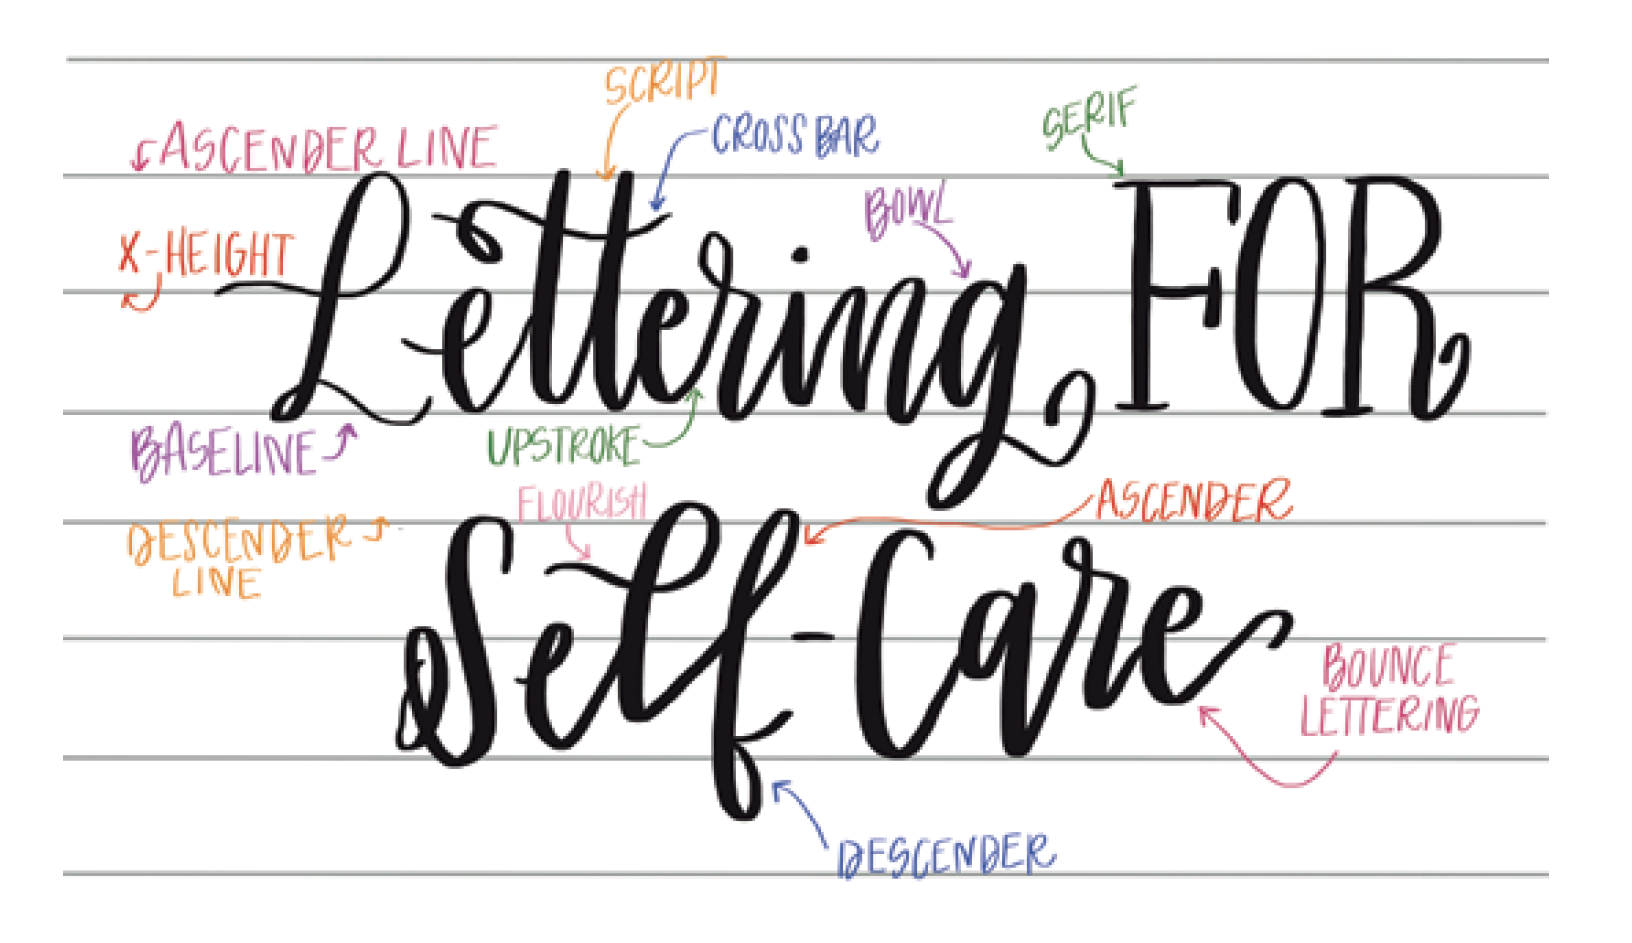
• How to create: Make straight lines down from the ascender line to the baseline, then up from the baseline to the ascender line.
• Stroke importance: The upstroke and downstroke are in many letters, and practicing them helps you to become more consistent in the upstrokes and downstrokes in brush calligraphy.
Downstroke to Upstroke Diagonals Drill
• How to create: Make diagonal lines down from the ascender line to the baseline, then up from the baseline to the ascender line.
• Stroke importance: Most capital letters have diagonals, such as A, M, N, V, and W.
Compound Curve Drill
• How to create: Starting at the baseline, slowly curve to the right when reaching the x-height. Then slowly add pressure as you go back toward the baseline.
• Stroke importance: Many lowercase letters have the compound curve, including a, u, n, and m.
Ascender Loop Drill
• How to create: Starting at the baseline, create a small entrance stroke up to the x-height, make a short loop up toward the ascender line, then pull your pen back down to the baseline.
• Stroke importance: Many lowercase letters, such as b, d, h, l, and k have this stroke.
Descender Loop Drill
• How to create: This stroke is basically created in the opposite direction from the ascender loop. Start at the baseline, create an entrance stroke up to the x-height, pull your pen down to create a loop at the descender line, then bring it back up past the baseline.
• Stroke importance: This stroke is in many different lowercase letters, especially those with descenders, such as j, g, p, and y.
Oval Drill
• How to create: Start at the x-height and bring your pen down to the left toward the baseline, then back up to create the closed oval around the x-height.
• Stroke importance: It is so important the ovals are an actual oval and not a circle. The oval is in many different letters and the more consistent you make them, the more cohesive your lettering styles will be.
Click here to download blank Hand Lettering for Self-Care Practice Pages!
Hand Lettering for Self-Care
Letter from the heart with this first-ever calligraphy-meets-self-care guide packed with fun and easy projects each designed to soothe anxiety and decrease daily stress while creating beautiful art. Learning calligraphy and hand lettering is not only a fun hobby, but also a calming self-care practice—no prior experience required! With
Learn more