


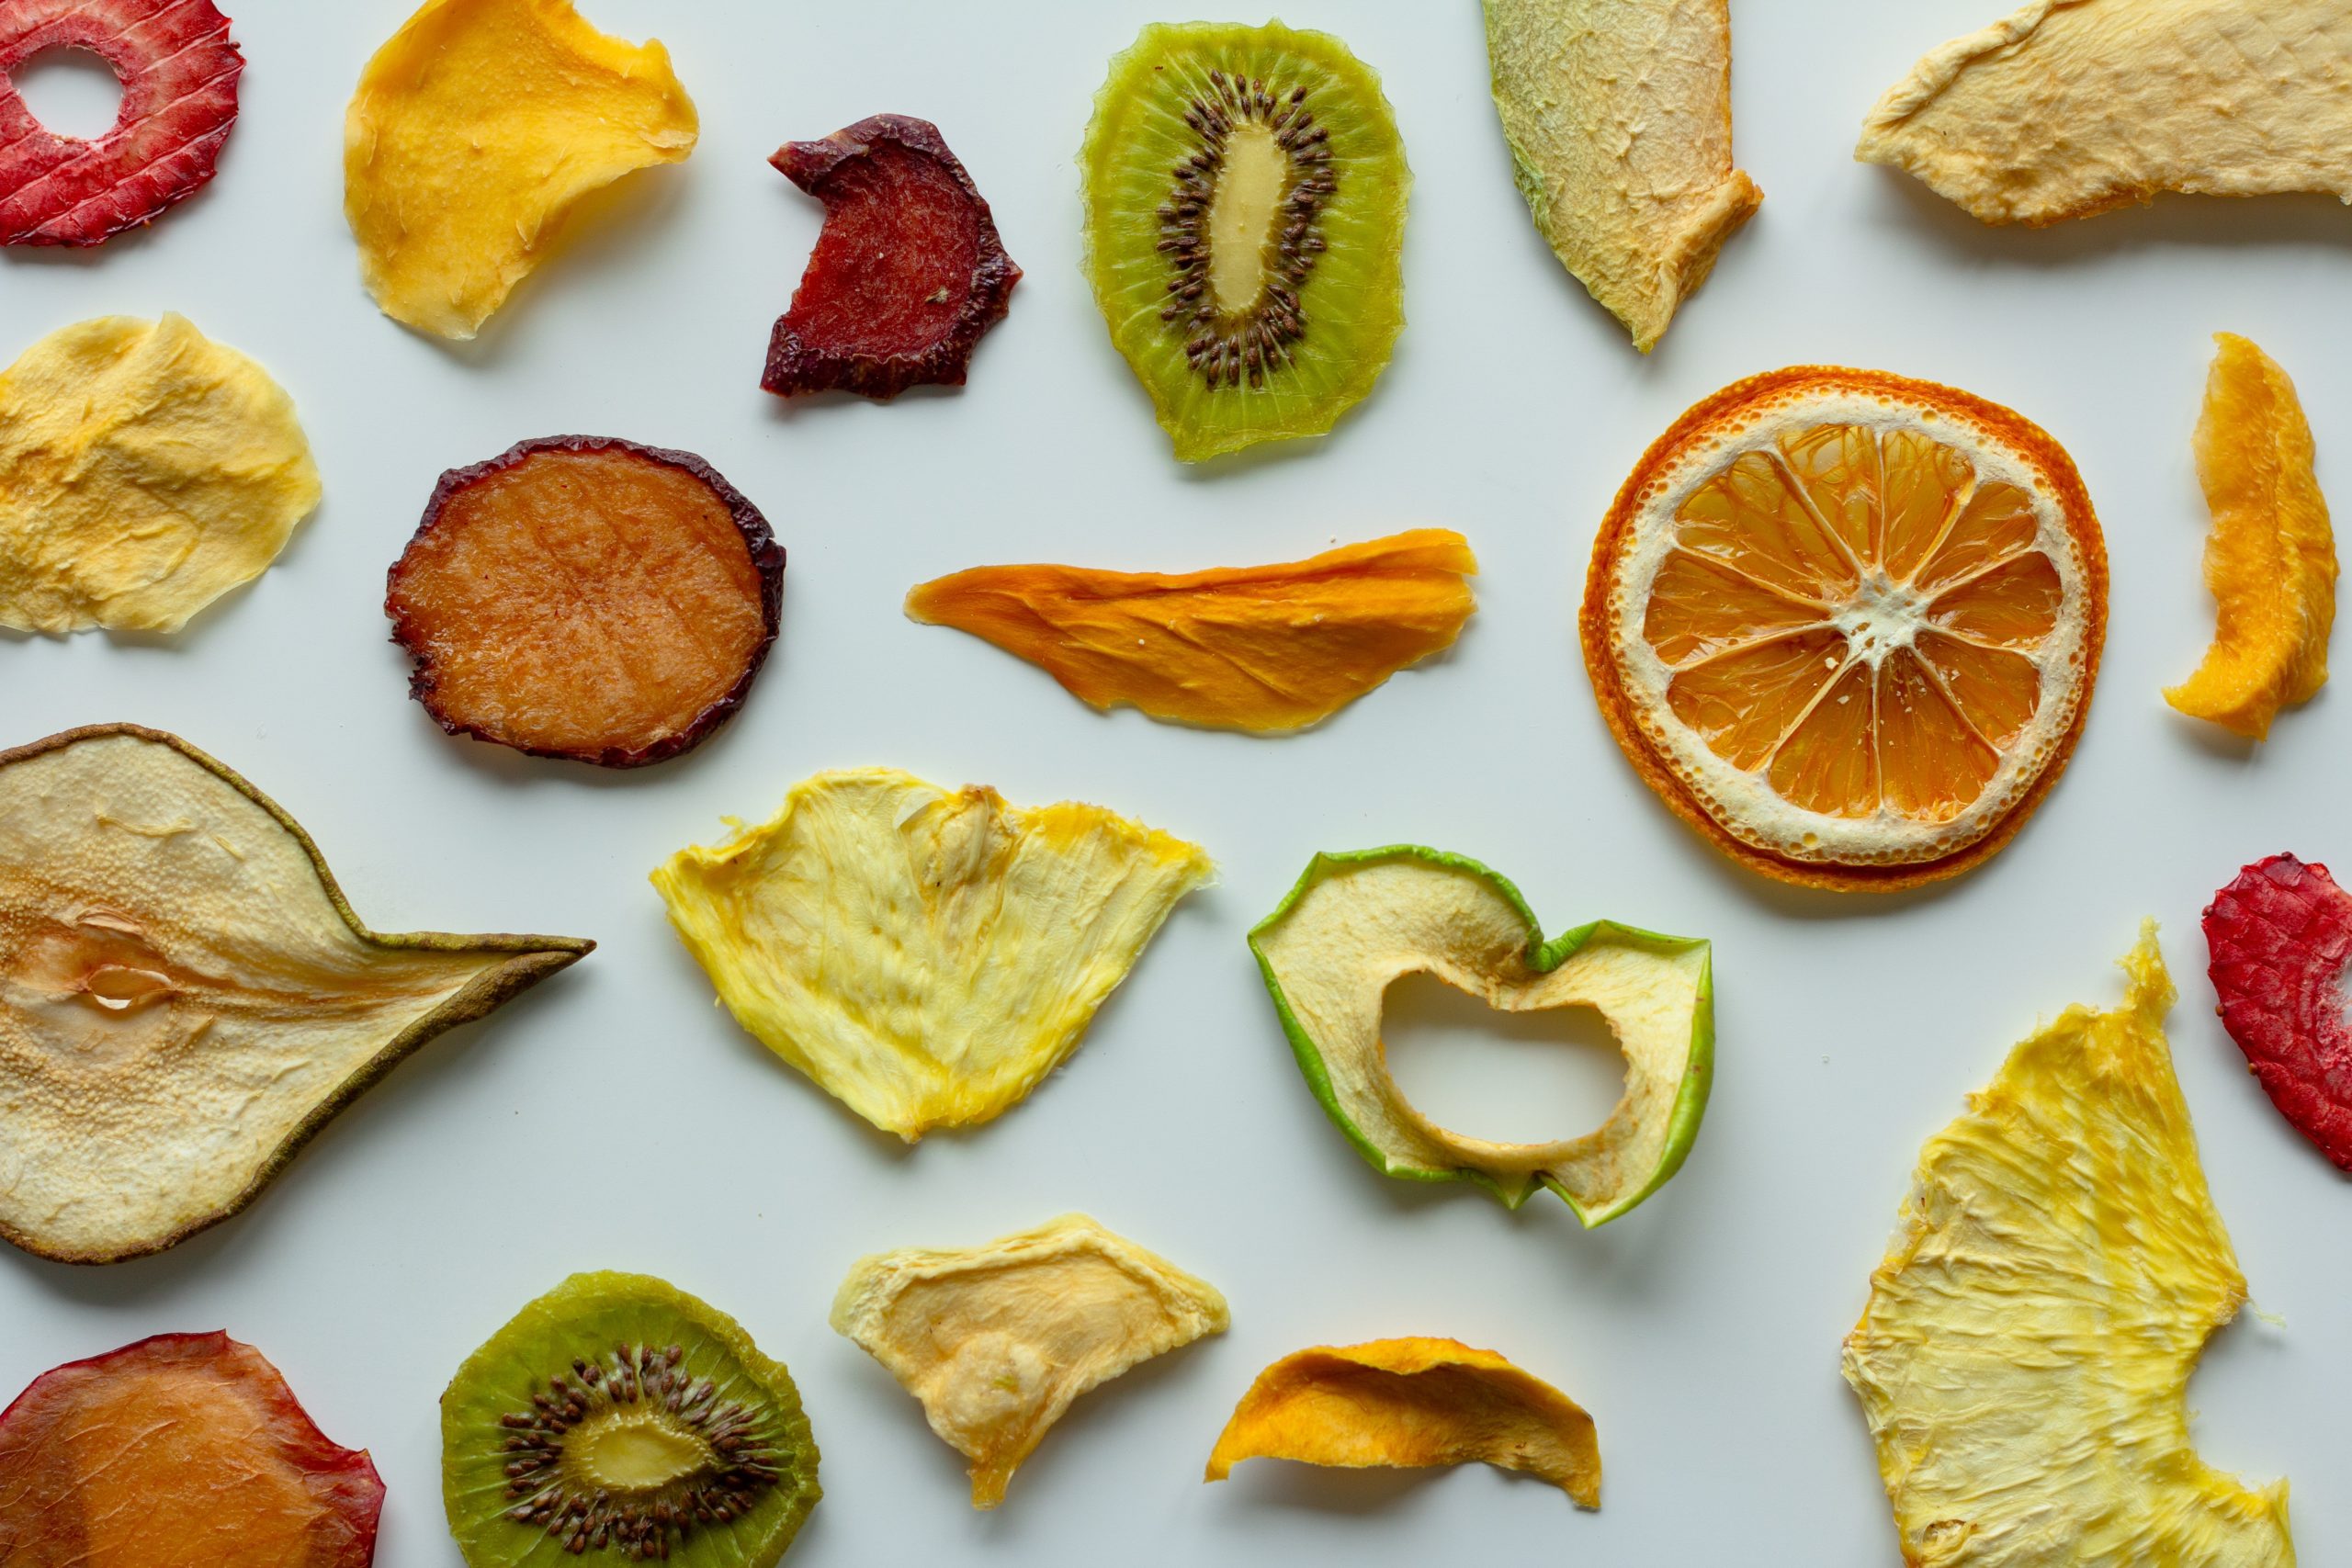

How to Dehydrate Food 101: A Beginner’s Guide
- Book Sample /
- Cooking
If you’re interested learning new kitchen skills this year, you might want to consider learning how to dehydrate food. This is a very handy skill to master for longer-term food storage, saving money, or just learning how to make delicious jerky and fruit leather!
Check out this intro to how to dehydrate food from The Prepper’s Ultimate Food Storage Guide, or click the link to purchase a copy with over 500 pages of recipes, tips and tricks on dehydrating, canning, and more–available January 19th!
How to Dehydrate Food 101: Methods
 Harness the Sun
Drying food by sunlight has been practiced for hundreds of years and works best for those living in a hot, dry climate. It is not recommended for those living in colder, damp, northern climates. Even those living in the South have too much humidity for success. The optimal temperature is between 90°F and 100°F, with less than 60 percent humidity.
If those conditions fit your climate, create a series of drying racks from old picture frames by covering them with window screening or cotton sheeting. Tack the screens to the bottom of the frames with staples. Think about the food safety of the materials you are using and plan accordingly. The screens should be safe for contact with food, so avoid hardware cloth or other materials that are coated with galvanized metal and can be found at the home improvement store. Choose, instead, stainless steel, Teflon-coated fiberglass, or plastic. These materials will clean nicely and not oxidize when they are exposed to the sun.
Place the food you are drying on the screens and set the prepared frames in full sunlight for several days until the food is dry. Airflow is important for success. The trays can be stacked with wooden blocks between them to aid the process. Cover the food with cheesecloth to keep pests away during the drying time. Bring the racks in at night before the dew falls, or if there is excessive wind or it looks like it might rain. You don’t want all your hard work to be undone.
For those that are living off-grid, solar drying may be your only option. Several plans can be found online for creating an enclosed solar box dehydrator. The enclosed-box drying method is less susceptible to humidity than regular solar methods and, compared with sun drying on racks, the temperature is higher and drying time is shorter. These appear to be relatively easy to make using salvaged materials around your home. Search “solar dehydrator box” or “solar dehydrator plans” in your favorite search engine for ideas.
How to Dehydrate Food In the Oven
Dehydrating in the oven is perhaps the most inefficient way to preserve your food because you need to keep your oven door open during the process. Oven drying takes two or three times longer than drying in a dehydrator and has a higher energy cost. While it does produce a safe and tasty product, the quality is different from food prepared in an electric dehydrator. Oven-dried food is more brittle and usually darker and less flavorful than food dried in a dehydrator. Don’t let this deter you; an oven will work in a pinch if it is all you have. It requires little or no investment in equipment.
Test your oven temperature with a thermometer before you use it to dry food. Set the oven to the lowest temperature setting and prop open the door for one hour. The oven should maintain a temperature of between 130° to 150°F. If the oven does not maintain the temperature range, your finished product will begin to cook instead of dry. Conversely, if the temperature is too cool, you run the risk of food spoilage.
Here are some tips for oven drying:
• Use your oven to dry small amounts of food at a time. If you overload the oven, the drying time will be extended.
• Position the oven rack at its lowest setting.
• Prepare the food as recommended (see meat recommendations in Chapter 7, and fruit and vegetable recommendations in Chapter 9) and place it on a cookie sheet, or place cotton sheeting directly on the wire rack.
• Prop the door open with a wooden spoon or block of wood; you’ll need airflow for this to be successful.
• Set a timer for one hour, check for dryness, and turn the food.
• Repeat every hour until the food is dry.
Using a Dehydrator
Years ago I purchased an old Ronco dehydrator at a garage sale for just a few bucks. It has 10 trays, no motor, and uses radiant bottom heat to dry the food. I thought I was in heaven. This machine is considered a dinosaur by today’s fancy dehydrator standards, but I still have it and use it every year when I’m drying herbs. I love how quiet it is.
My next garage sale treasure was a Harvest Maid Dehydrator with a box of four extra trays. I have used that machine for years, creating all the things you read about in this book. It has an electric motor and blower at the base of the unit. Seriously, I’ve used these second-hand machines for at least 15 years. They are workhorses and prove that you don’t need a fancy machine to have a prepared pantry.
Today’s electric dehydrators make your pantry preservation even easier, and they run more efficiently than those old machines. In addition, many new machines have a timer to allow you to start and stop drying when it suits your schedule, and their 1,000-watt heaters get the job done in record time. There are three basic dehydrator designs on the market today.
Types of Dehydrators
Dehydrators need to circulate air in order to do their job. This is accomplished by pushing air vertically through the machine, either from the bottom or the top, or by circulating air from the side horizontally.
Older model vertical airflow dehydrators have a heating element and fan located at the base of the unit, and the trays are stacked on top. This was the golden standard for years, and with a moving motor, it’s a step up from my old Ronco machine. The one drawback to these old airflow machines is that the food does not dry evenly on the trays. The trays always need to be rotated from the top of the stack to the bottom to ensure each tray gets equal airflow. That can be a problem if you were hoping to load the machine and walk away until the food is dry.
In modern dehydrators, vertical airflow is accomplished by having a powerful motor at the top of the stack. This allows for a cleaner heating element and forces heated, pressurized air downward through the outer ring of the food trays. These machines are very efficient. At the same time, the circulating air moves horizontally across each tray and out through the bottom, and the air converges at the center for fast, even drying. I’ve found that with my Nesco Gardenmaster machine, there’s no need to rotate trays—all the food dehydrates at the same time and it can handle up to 20 trays. You can efficiently dry a lot of food at one time.
Excalibur is the gold standard of horizontal airflow dehydrator units; it is also the most expensive. The heating element and fan are located in the back of the machine and provide horizontal airflow, which is said to reduce flavor mixing when you are dehydrating several different foods at one time. All trays receive equal heat distribution, and because cool air is drawn in, heated, and distributed evenly over each tray, the food dries faster and retains more nutrients, without tray rotation. If you are going to dry a lot of jerky, soup, or fruit leather, a dehydrator with horizontal airflow may be the best choice.
I now own five different dehydrators, including a Nesco Gardenmaster and an Excalibur 9-tray model. Each one, old and new, is regularly used for different drying purposes. You don’t need a dehydrator to dry food, but it sure does make it easier and more efficient.
When you are drying large batches, it’s helpful to have more than one dehydrator. The machine with bottom heat dries my herbs; it is the least precise of the machines and the one that needs tray rotation. It works well for herbs because they are not prone to spoiling, like some fruit or vegetables that need constant airflow. The Nesco Gardenmaster top-heat machine makes terrific work of fruit and vegetables, and I’ve found that there is very little tray rotation that needs to take place. It has digital time and heat instruments so I can schedule time in half-hour stages and adjust the temperature in 5°F increments. The Excalibur machine is square and is perhaps a more efficient use of tray space. With horizontal heating from the back, it makes excellent jerky and leathers.
The one you choose is a personal preference. All the machines on the market today will dry food. Start with one that fits your budget then expand to a large-capacity machine if you need to.
Dehydrator Basics
As a general rule, food should not be touching as it dries on dehydrator trays. This additional space aids with airflow and will help to dry your product fast and evenly. Also, juicy fruits like strawberries, mango, or watermelon will stick together when drying if they touch on the trays. The exception to this rule is leafy vegetables like cabbage, lettuce, spinach, or cilantro. They can be added to trays up to 1⁄2-inch thick, although you will need to reach in every few hours and stir the leaves.
If you have a machine with bottom heat, it is often necessary to aid your machine with air circulation by rotating the trays from top to bottom. Set a timer for halfway through the drying process and move the top tray to the bottom, shuffling each tray as you go. When finished, the original tray on the top will now be on the bottom of the stack. If you have a machine with horizontal airflow, rotate the trays 90 degrees halfway through the process. As you use your machine more often, you’ll get to know its ins and outs and how much help it needs with airflow.
There are many variables in food dehydration. Humidity, methods of food handling, and different kinds of produce will change the quality of your dried food each time you make a batch. The only way to become an expert is to keep experimenting until you understand how each of the items you wish to store in your pantry will behave. Fortunately, dehydrating is a forgiving preservation method.
Tips for How to Dehydrate Food with a Dehydrator
Try different methods. Don’t be afraid to experiment with different dehydration methods. Vary the way you make cuts and the thickness of the foods you use. Julienne a potato at least one time to see how it turns out.
Set aside a small portion of a product to test pretreatment recommendations. Pretreatments can be a hassle and are not always necessary. Experiment with using a pretreatment dip or blanch and compare that to not using a pretreatment process at all so you can see how the finished product meets your needs and preferences. Keep records so you remember which is preferred.
Spread food evenly, in single layers, on trays. Unless you’re drying leafy greens, overlapping items will take longer to dry and might stick together.
Separate foods by their thicknesses on dehydrator trays. Take green onions, for instance. Each stalk has a dark green and a white portion, which dry at different rates. If you keep them all mixed together on a tray, you’ll need to pick out the dry green portions after a few hours. If you separate pieces by the thickness at the beginning, you can just remove the finished tray of greens when they are done. It will save you a lot of energy if you plan ahead.
Do not mix fresh items in with those in the process of dehydrating. Don’t add fresh food to a partially dried batch; it will slow the drying time on all the trays. Consolidate partially dried foods onto fewer trays. Halfway through the process, combine partially dried foods onto fewer trays. Keep in mind that modern machines are most efficient if they operate with at least four trays. If you don’t have four trays of food to dry, be sure to add empty trays to the stack to help with airflow.
Do not start and stop the dehydration process. Dehydrating works by continually moving heated air over your food, which helps prevent spoiling and off flavors. Each item needs to dry continually for the recommended time. You don’t want the heat to stop on a partially dried batch, so make sure timers are set to continue the process overnight while you sleep.
Microwave Drying
Microwave drying is not recommended for fruit, vegetables, and meat because of the uneven way they cook. All microwaves are designed to retain the moisture content in foods, not as a method of drying them. Also, fruits have high sugar content and will have a tendency to burn if they are overcooked in the microwave.
If you are determined to use your microwave for dehydrating, follow these rules:
1. Cut food no more than 1⁄4 inch thick.
2. Lay the product directly on the turnstile.
3. Dry in small batches.
4. Do not overlap food.
5. Use the defrost setting (reduced power) to minimize the hardening effect that can happen when food is dried too quickly.
6. Turn the food every 15 minutes until it has dried to the consistency you are looking for. Microwave drying is not a process where you can push the button and step away, unlike drying with an electric dehydrator. You must constantly monitor the batch to make sure the food does not get too dry, burn, and catch fire. And it will catch fire if you do not watch it continually!
For the best success, skip the fruit, and use the microwave to dehydrate only herbs or leafy greens. These contain a very minimal amount of moisture and are best suited for microwave drying. Place washed and towel-dried herbs on a paper towel or napkin and dry in 30-second increments until they reach the consistency you are looking for. See Chapter 8 about drying herbs for more information.
***
Some of the links above may be affiliate links. To see our affiliate policy, please click here.